Version 1 (old method)
Features
Prerequisites
GLPI
PHP minimum
PHP recommanded
Install the plugin
Create an application from a Meta account
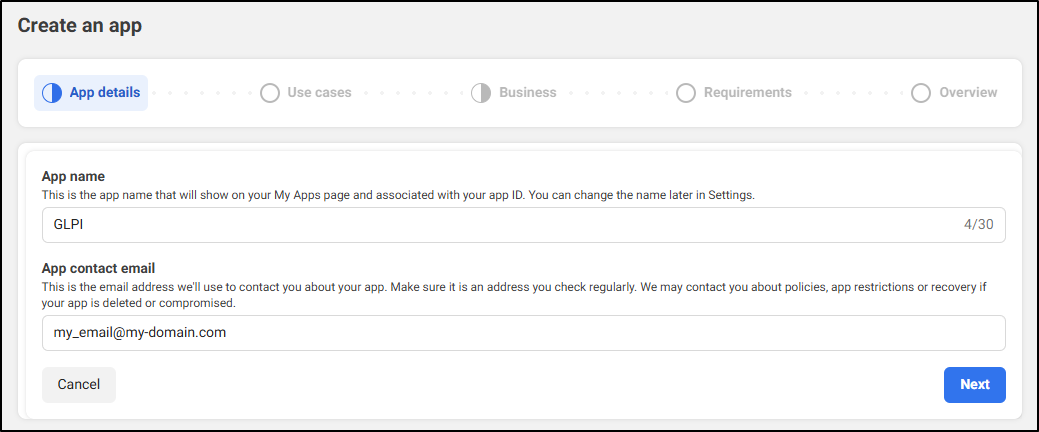
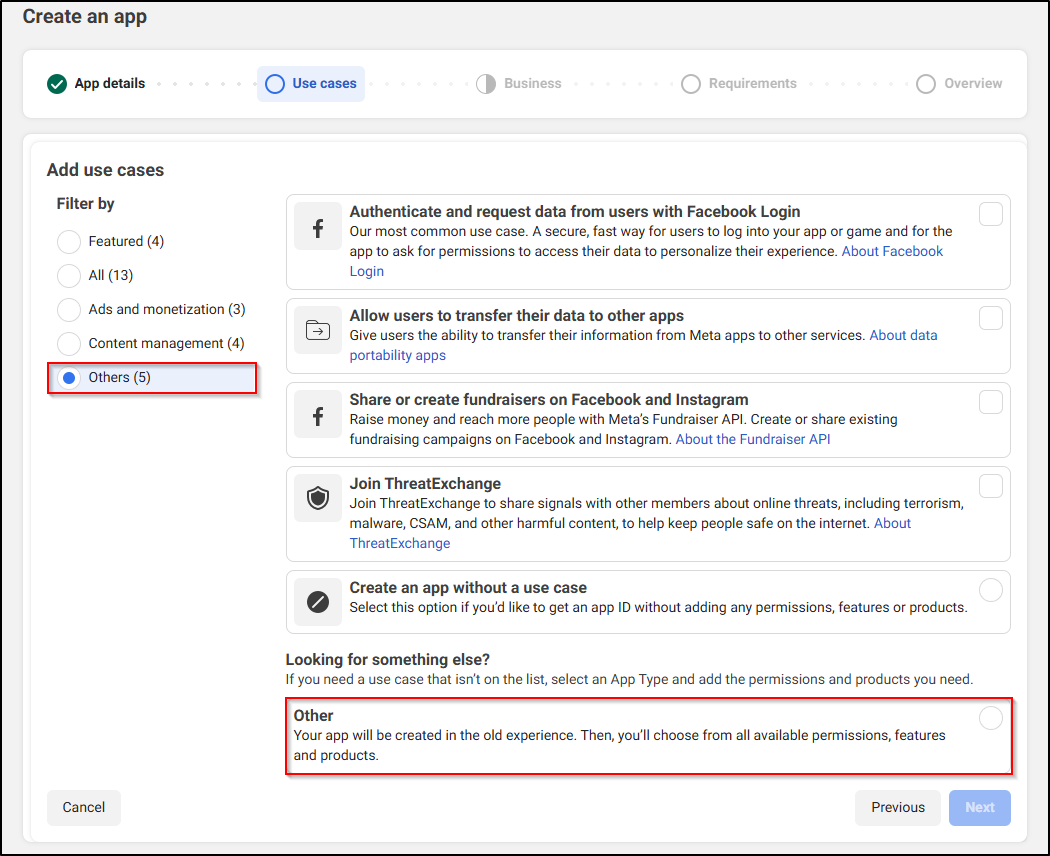
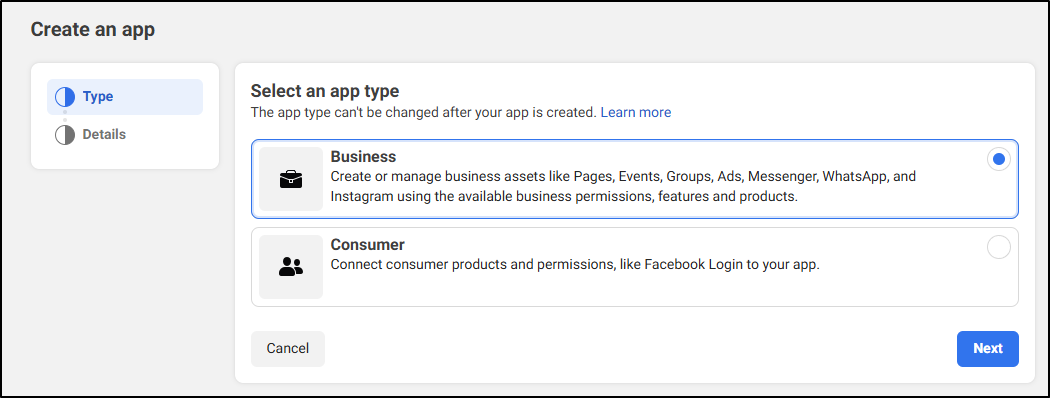
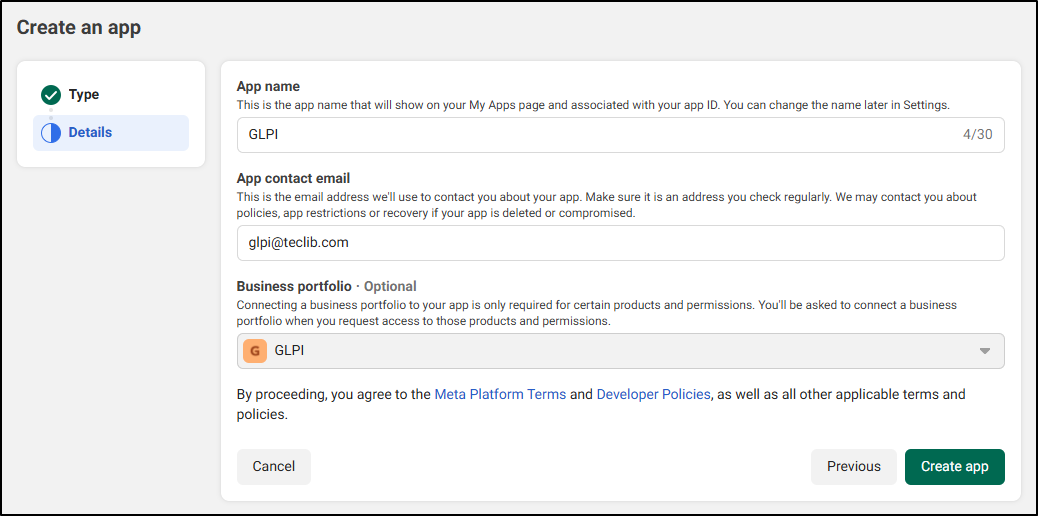
Create an App ID
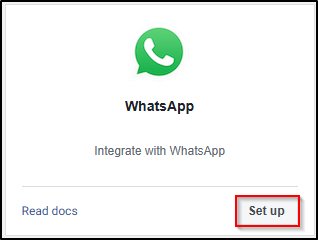
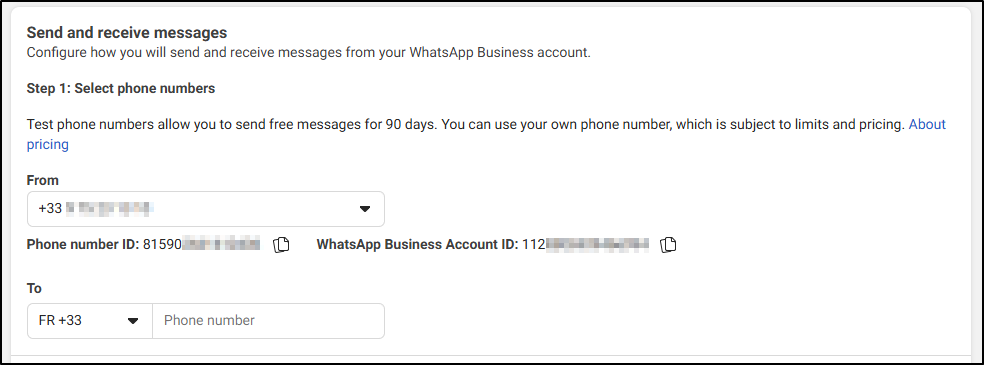
Add and configure products to your application

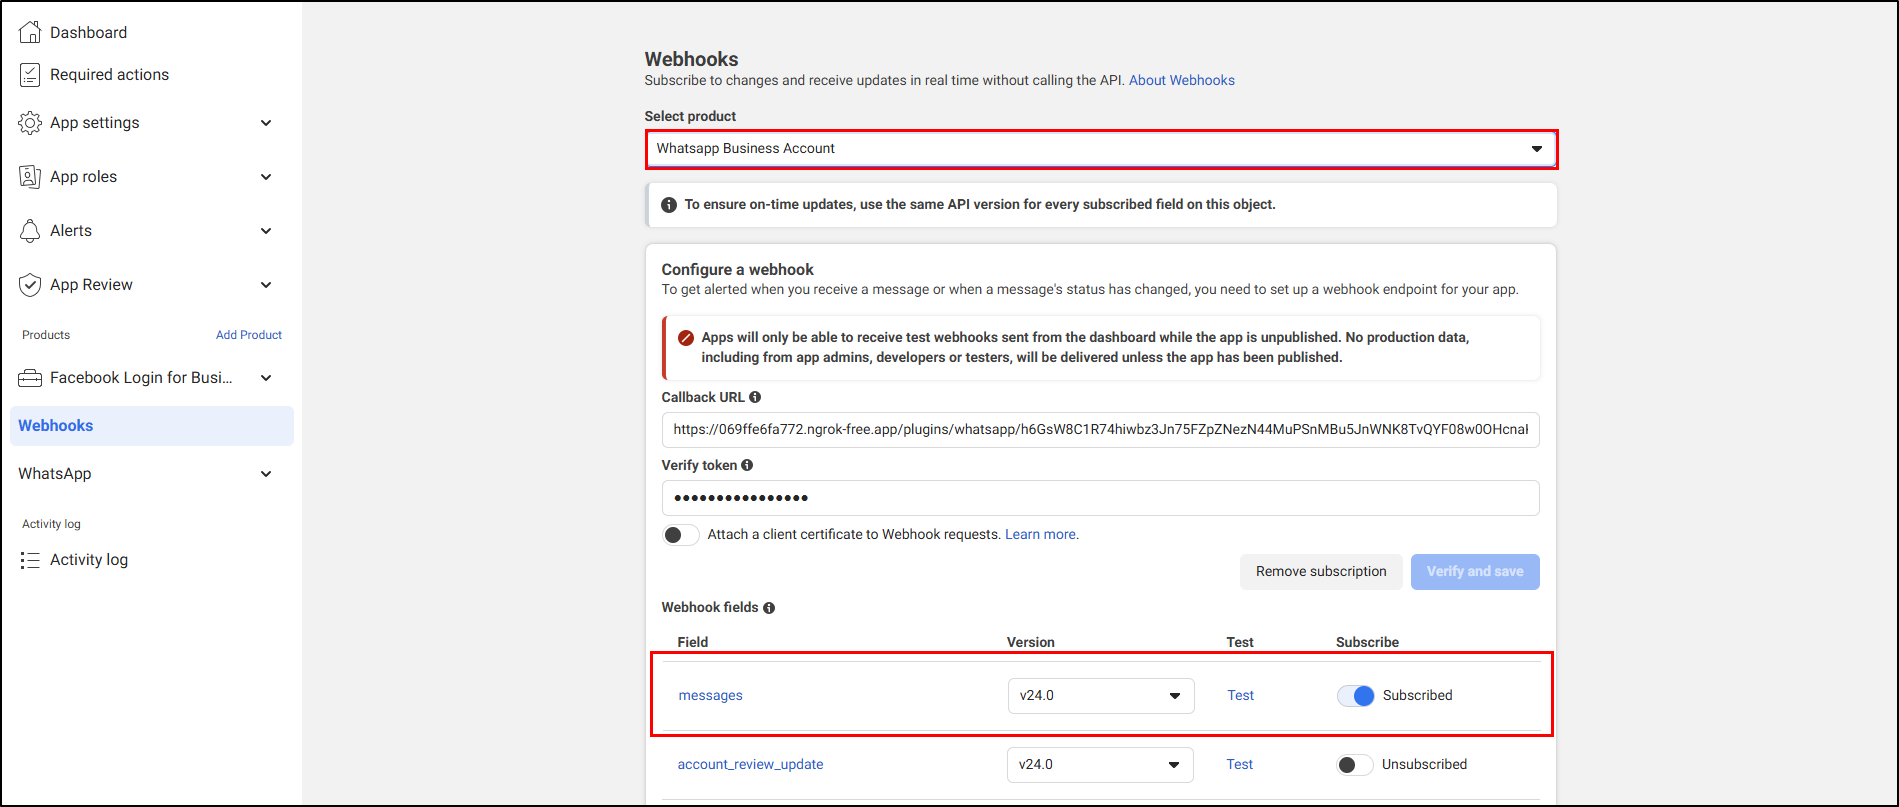
Set up the Webhooks

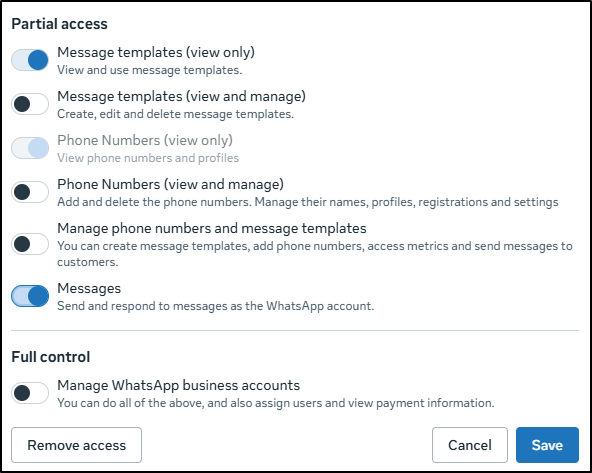
User Management
Create a User
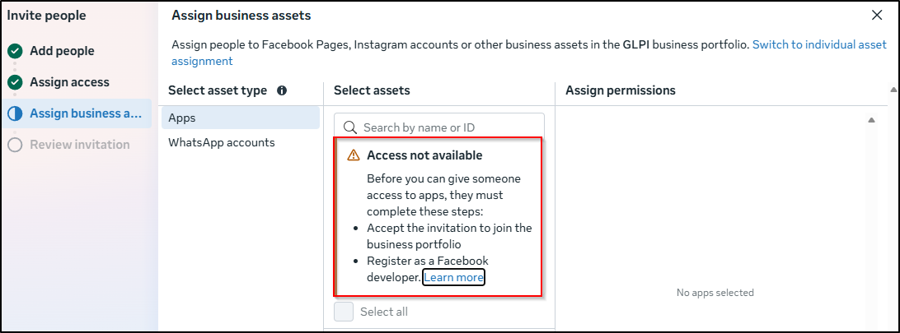
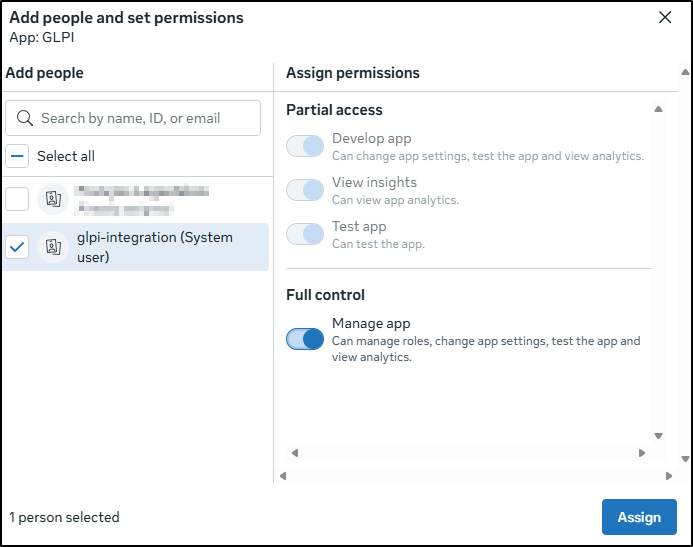
Assign the application
Creating a System user account


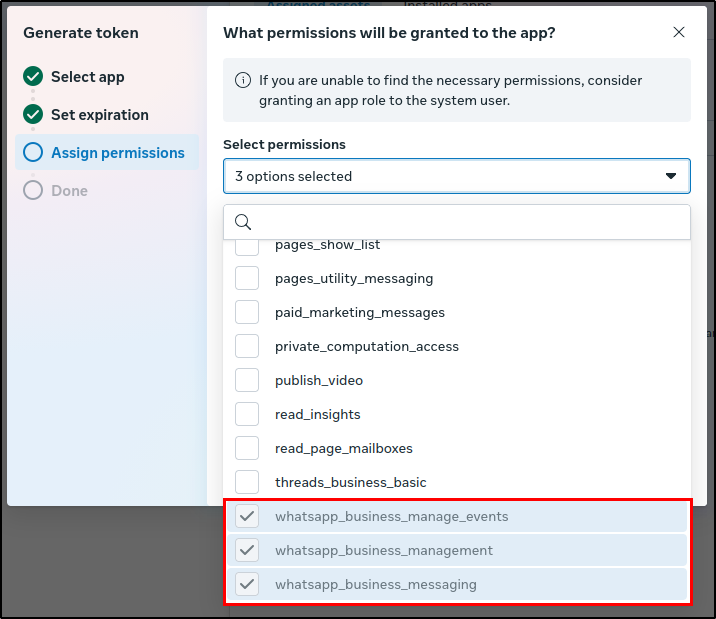
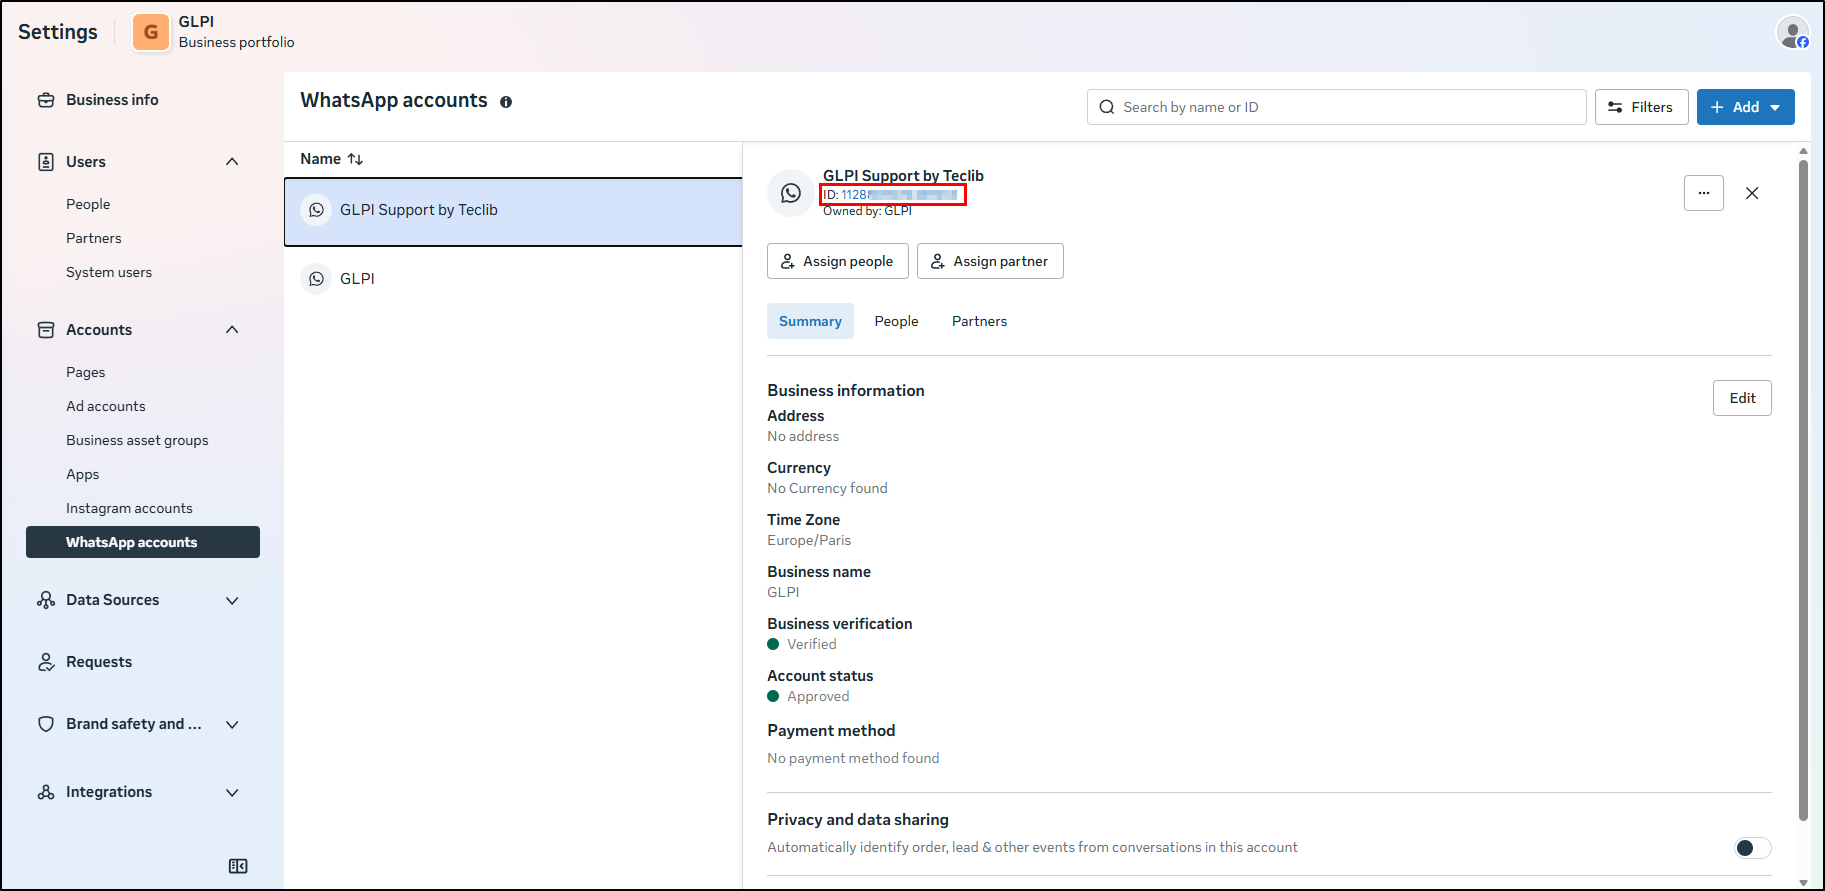
Token Generation

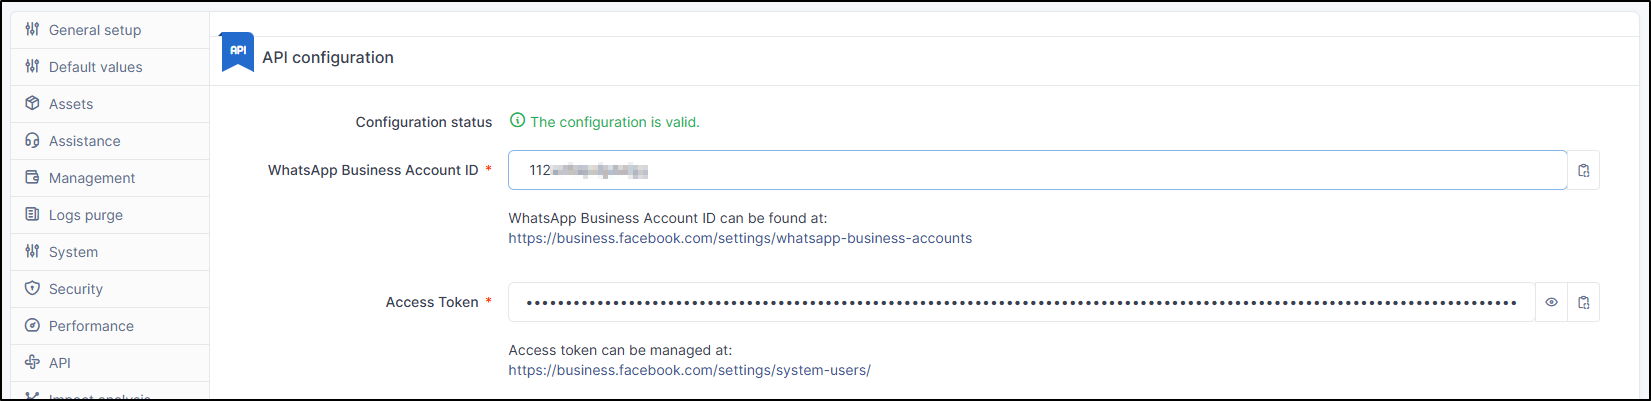
Setup GLPI
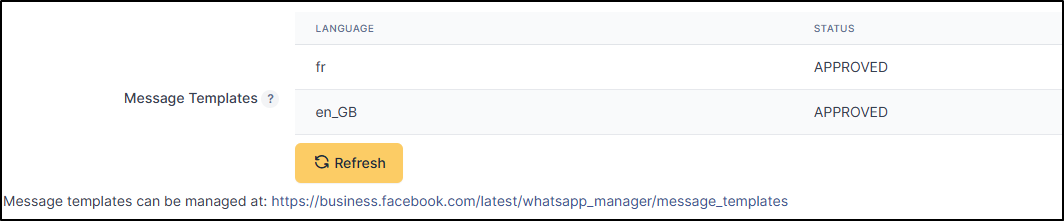
Setting up Notification Templates
Before publishing your application
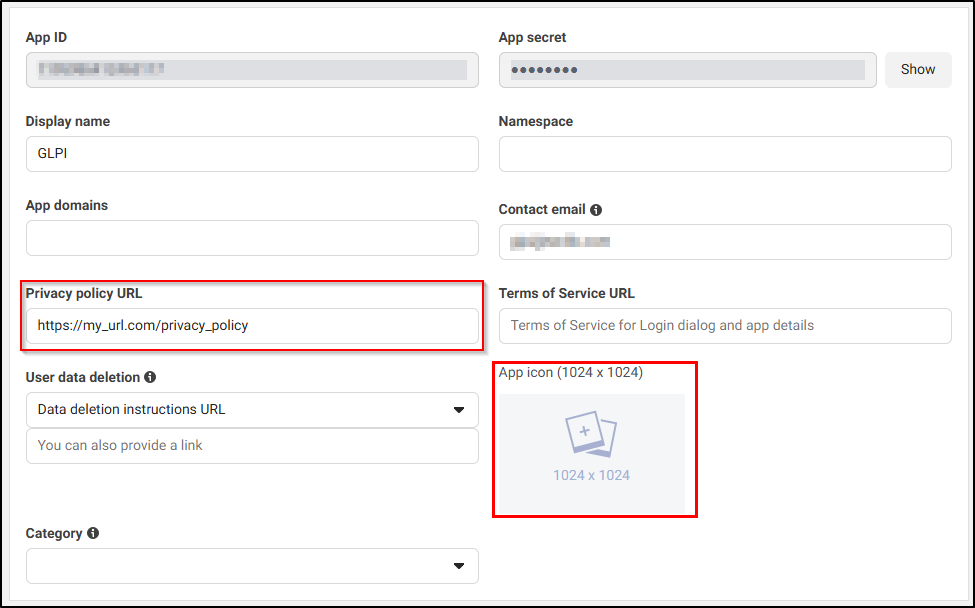
Privacy Policy and Logo
Payment Method

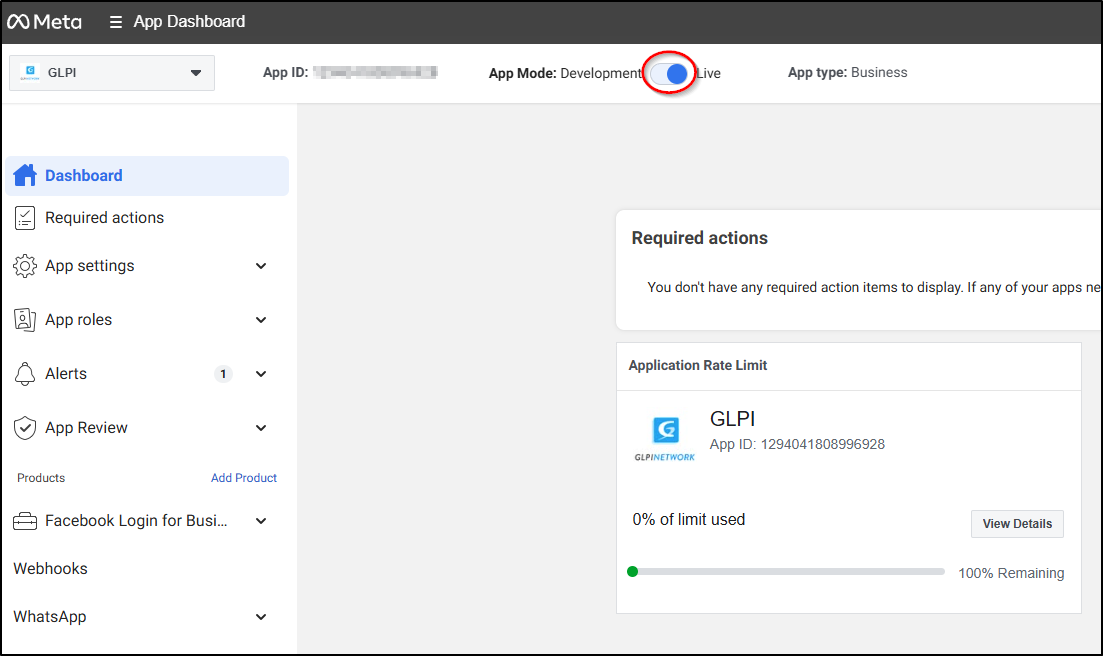
Publish the application
Ticket Configuration
Anonymous Access
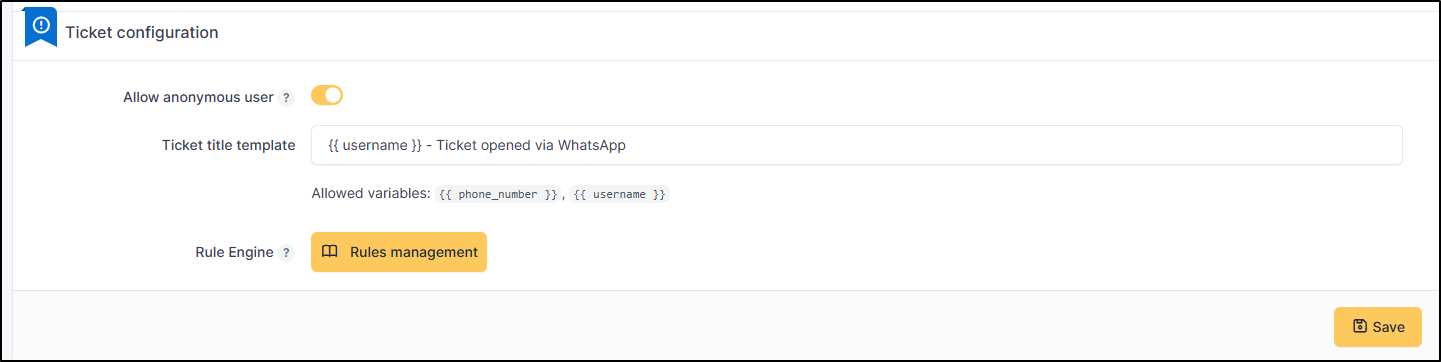
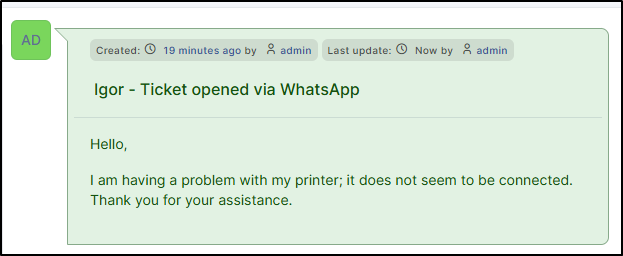
Ticket Title Template
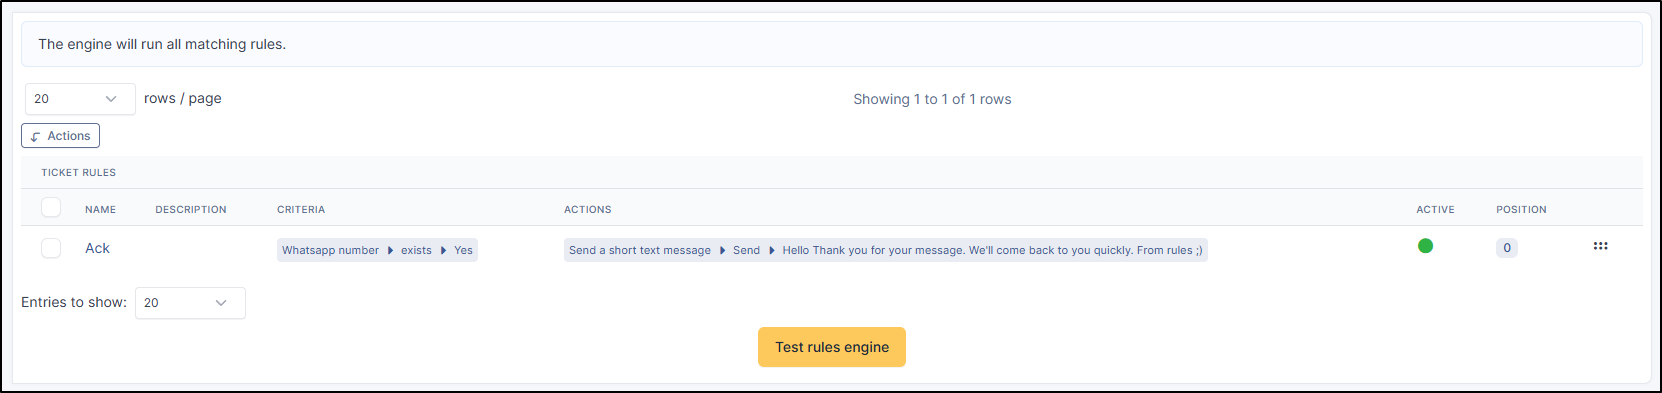
Business Rules
Current Limitations
Last updated